Next.js
Next.js is a React full stack framework. It provides an ability to develop applications with server-side rendering and also can be used as a Static Site Generator.
Creating a Next.js application (with TypeScript)
For creating a Next.js application you need install Node and npm on your machine. if you didn’t do it before check out the post How To Install or Update Node by Using nvm (Node Version Manager).
Next.js provides a special tool called create-next-app that creates a boilerplate code and configuration for new app. It is similar to create-react-app but for Next.js applications.
To create a new app let’s use npx:
| |
or Yarn:
| |
The flags –ts and –typescript means that a new Next.js app will be created with TypeScript integration (all basic components and files will be created as .ts and .tsx). You can skip this flag if you don’t use TypeScript but in this post series I’ll use it for sure.
The tool will ask you about name of your new project. I called it “nextjs-blog-sample” but you can name it whatever you want. The name of the folder will be the same as the name of the project you called.
Open the folder of project:
| |
File structure
If you look at the file structure of created project you should see something like this:
| |
You might notice that there is no file like index.html in a public folder as you may have seen before in React (created by create-react-app) projects. This page is pre-rendered by Next.js on a server. So, basically, when server receives request it dynamically pre-renders the page.
A short intro to folder structure:
- next.config.js - Next.js configuration file
- pages/ - a folder that contains files of website’s pages
- public/ - here you can put files like fonts or icons
- styles/ - folder with CSS files
- tsconfig.json - TypeScript configuration file
Folder pages/ already has an index (or home) page of the website - index.tsx. If you run application you will see in the browser a content of that file (which is basically React component).
Running application
To run application just execute the command:
| |
or
| |
It will run a dev server. While this dev server is running all files of source code (like in a folder /pages) compiles from .tsx (or .jsx if you don’t use TypeScript) with some formatting and optimizations into static assets that used as output code of the app. To do that Next.js uses Webpack under the hood.
Now, if you run the app, you should see in the browser something like this:
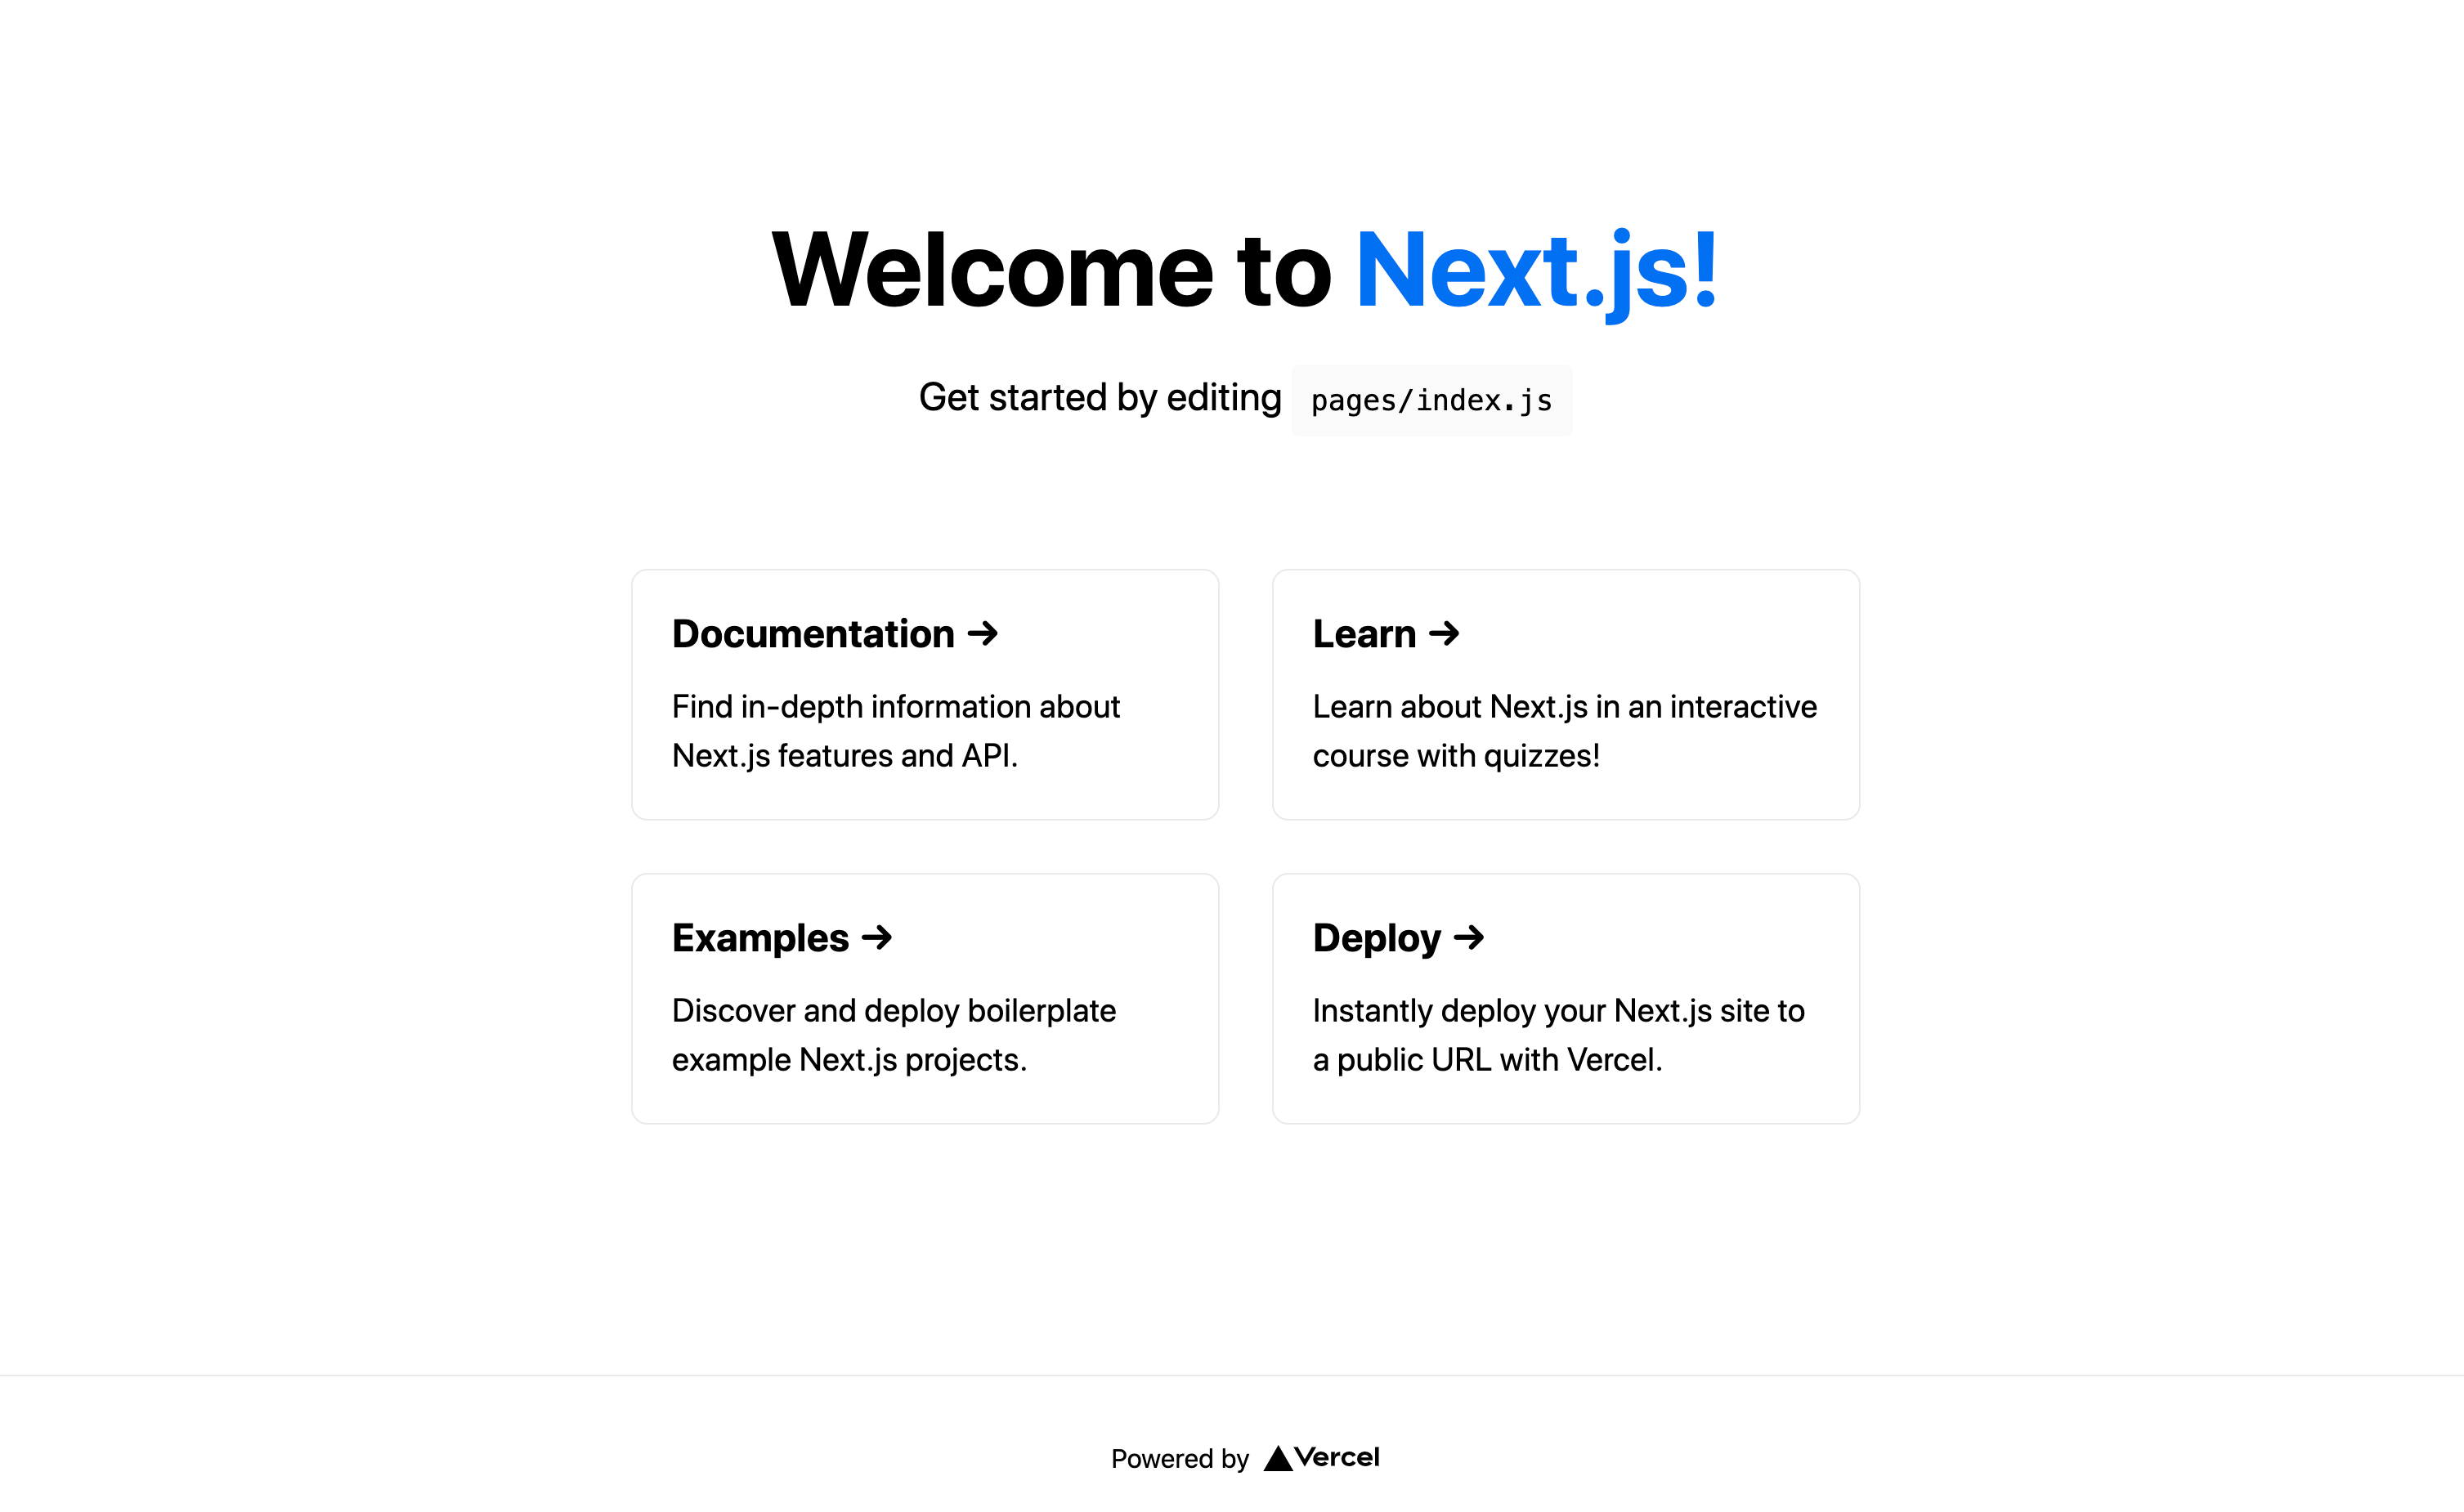
It is a content of home page that is available as a file index.tsx in a folder /pages.
Creating pages
- Create file
/pages/index.tsxwith React component- it will be your home page on the website (/)
- Create folder
/pages/blogand create file/pages/blog/index.tsxwith React component- it will be page
/blogon the website - there should probably be list of blog posts
- it will be page
- Create file
/pages/blog/[slug].tsx- it’s a page of specific blog post that has slug
- so it will be available on
/blog/some-blog-post-slug
An example of React component for page with specific type/interface:
| |
Display image in component
- Create folder
public/imagesand put image there - In the component you should use component
Imageof Next.js- It optimizes the image on the website
| |
Creating the main layout component
- Create component
components/MainLayout.tsx - Basic template (with children):
| |
- Implement this component in
pages/_app.tsx:
| |
Rendering markdown
To render markdown inside React component use react-markdown.